Spend less time reformatting in Excel and more time being strategic when quoting in ShopCQ.
Our Demand import process is designed to increase flexibility to reduce the amount of prep work in Excel, prior to loading the Demand into ShopCQ. A few of the benefits of the Demand import are as follows:
- Alternates can be in columns or rows
- Column headers can be in any row
How to use the new Demand import process

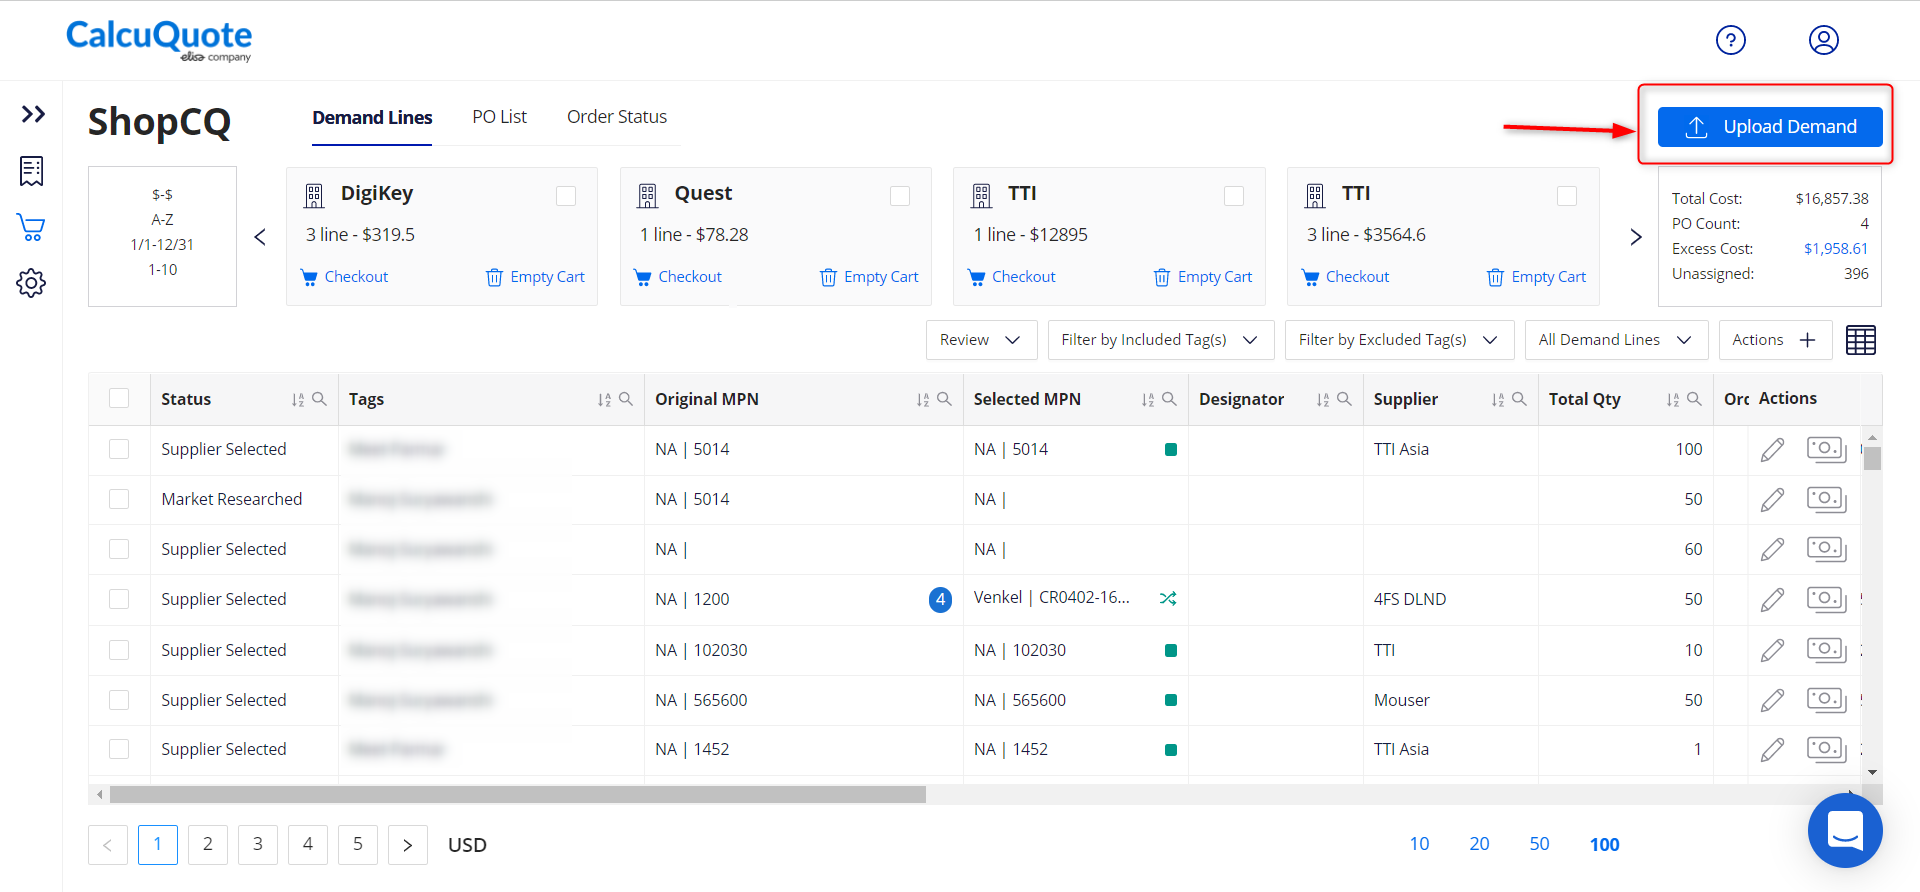
- Click on Upload Demand.
- Drag and drop or choose the file to import.
- After uploading a file into ShopCQ, you will be greeted with Demand Import.
The system requires a Line Item Column, MPN, and Requested QTY
There are 4 steps with the new demand import:- UPLOAD: This is done with the traditional process.
- MAP DATA: This allows flexibility to map your columns based on what is available in your file. First, identify which row is your header and which is the last row to consider. This will now allow flexibility where the first row was not header information. The import will automatically display all columns that are in your Excel file. Use the drop-down above each column to map accordingly. If you choose not to include a column, you can select Skip from the drop-down. Once all of the columns have been mapped, click "Next" to continue.
- VALIDATE: The next step will allow users to review all of the information that was mapped from the previous page, in a clean organized format. Once you confirm everything is correct, select Validate & Next.
- IMPORT: Finish the import of your Demand by clicking Finish Import in the bottom right corner. Once you finish the Import, the Demand will be successfully uploaded into the application. You can also download copies of the Demand in Excel or JSON format.
Once imported, the lines will be marked as "Demand Imported"
