If you're a supplier and need to submit a bid sheet to your customer, here are instructions on how to use CalcuQuote's Bid Sheet Portal.
Article Index:
- Login into BidCQ
- Configure your account
- Start to Quote
- Attach and view documents
- Submit the Quote
- Add alternates
Login into BidCQ
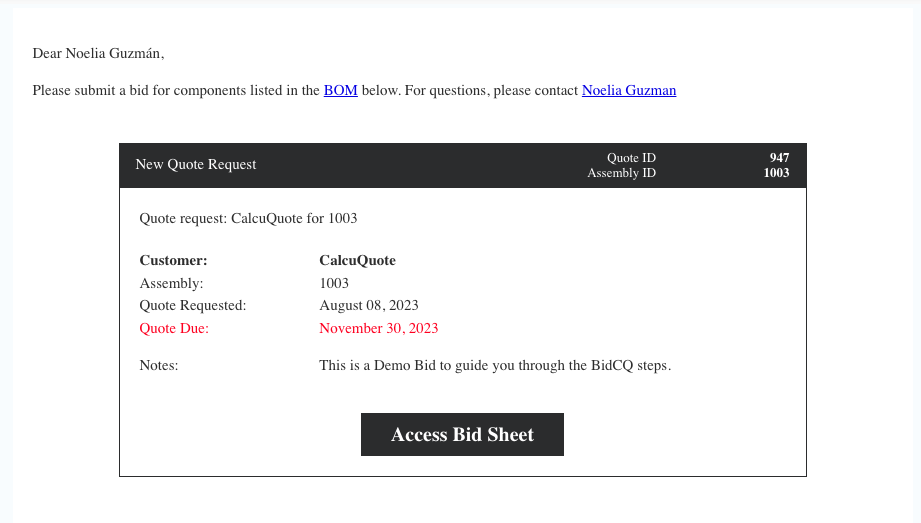
You will receive an email from a CalcuQuote user when a bid request is sent. You will click on Access Bid and be directed to create your account in bidCQ.

-
If you are already registered in BidCQ, the link will take you directly to the Bid Request.
-
Upon the first time navigating to BidCQ, you will be redirected to a Welcome page. Here you will create and confirm your password and click Register.
Important note: you need to use the exact same email address for the request that was sent. If the request was sent to an alias email or to a colleague, the bid will not be available using your email address.
-
Verify your email. Next, you will receive an email notification to your email account with an activation link. Once you click on it, this will redirect you to your dashboard and profile for the Bid Portal.
Configure your Account

-
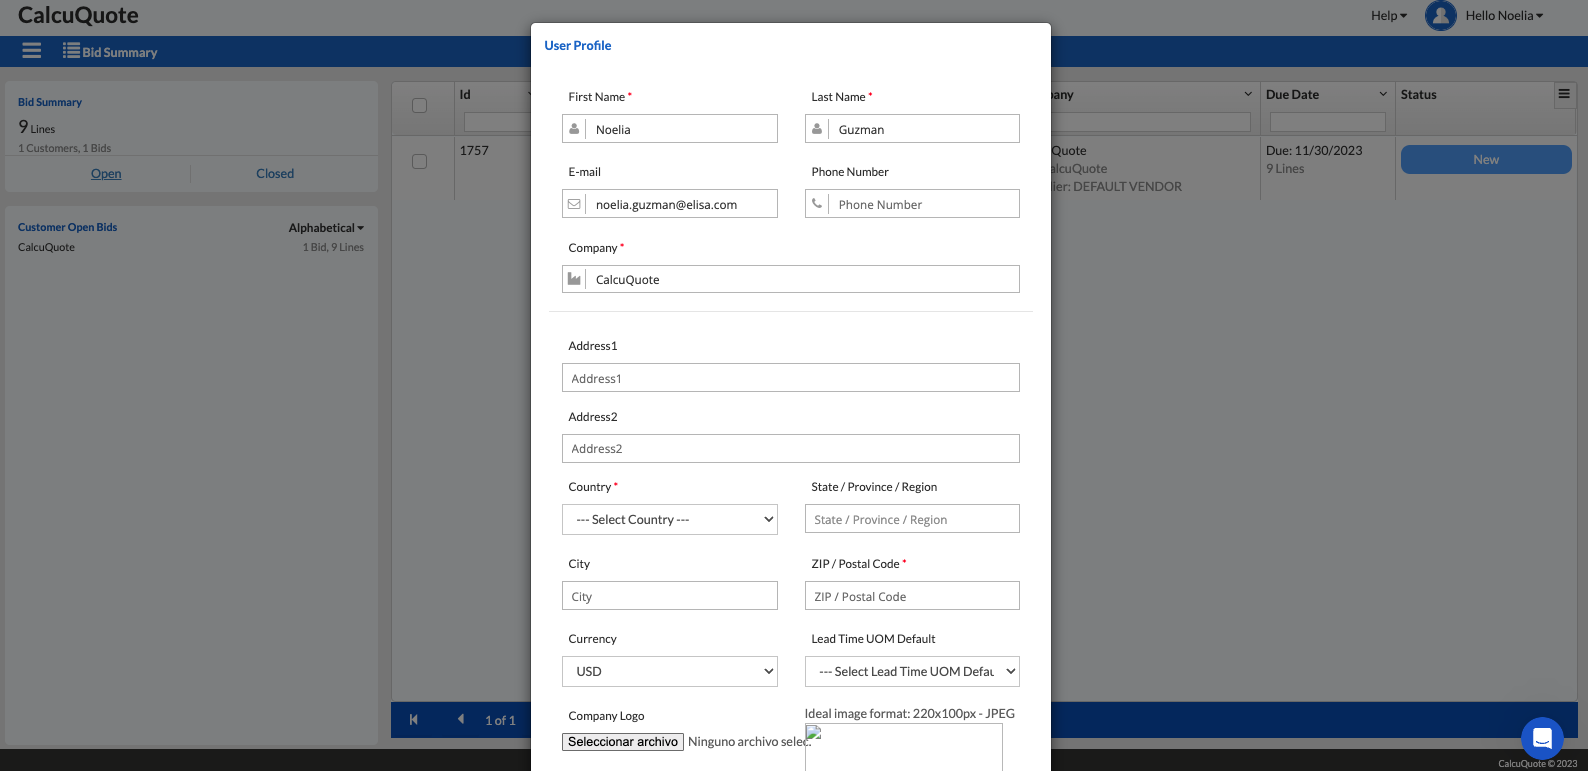
BidCQ will populate the account profile fields.
-
Required fields: First/Last Name, Company Name, Country and Zip Code
-
Lead Time UOM: you can set up your default lead time UOM so you don't need to fill it in every time you quote.
-
Currency: you can also set up your default currency, which will automatically populate when you quote.
Start to use BidCQ
- Go to the Bid Summary. This is the main view that will list all your bid requests. Please notice you have two views: Open bids and Closed bids.

- Click on the bid status to open a specific request.
- Once a bid is opened, the Bid Information will always display the who submitted the bid, the due date, the Quote and Assembly IDs, the number of Line Items and the Bid Notes (if any).

-
Close the Bid Information screen to view the full bid request.
-
Provide the quote information.
-
Please read carefully the error messages that will appear in the bottom of the screen in case something goes wrong.
-
The Cross Match Mfgr column and the Cross Match MPN column are meant for cross-matches only. Providing the exact same MPN and Mfgr will populate an error message.
-
The Lead Time information is by default in days, unless you indicate "Weeks" in the Lead Time UOM column. You can also change the default Lead Time UOM following the instructions HERE.
-
The Unit Price is mandatory. You cannot provide other information for the line without indicating a unit price. If you don't want to provide pricing for a line, you can no-bid it. Learn how to do it HERE.
How to quote:
- Populate your information on the screen:
The bid request screen works in a similar way to an Excel file. Just type in the information on the screen. - Upload the information in an Excel file:
- Navigate to the top bar and click on the "Excel" option. Then click on "Export".

-
Do not modify anything in the grey cells. Please enter the information only in the white cells.
-
In the BidCQ portal, navigate again to the top bar, and click on "Excel" > "Import".
- Navigate to the top bar and click on the "Excel" option. Then click on "Export".
- Click the paper clip icon

- Click New > Upload File

Submit the Bid
- Once the information is populated in the bid view and is ready to be sent back to the customer, click Submit.

-
If you need to continue your quotation later on, you can save your progress from the Save as a draft button in the top navigation bar.
-
If you want to submit only some lines and submit the rest in another moment, you can follow the steps to send a Partial Submission HERE
-
-
Provide your name, the quote ID, and the expiration date for the information submitted.

-
Go to the Bid Summary. This is the main view that will list all your bid requests. Please notice you have two views: Open bids and Closed bids.
Add Alternate Part
Can’t quote that part? Add a recommended alternate or cross-match in the Cross Match Mfgr and Cross March MPN columns.
Important! If you are going to quote the same Mfgr and MPN, you don't need to enter those in the Cross Match Mfgr and Cross Match MPN columns.

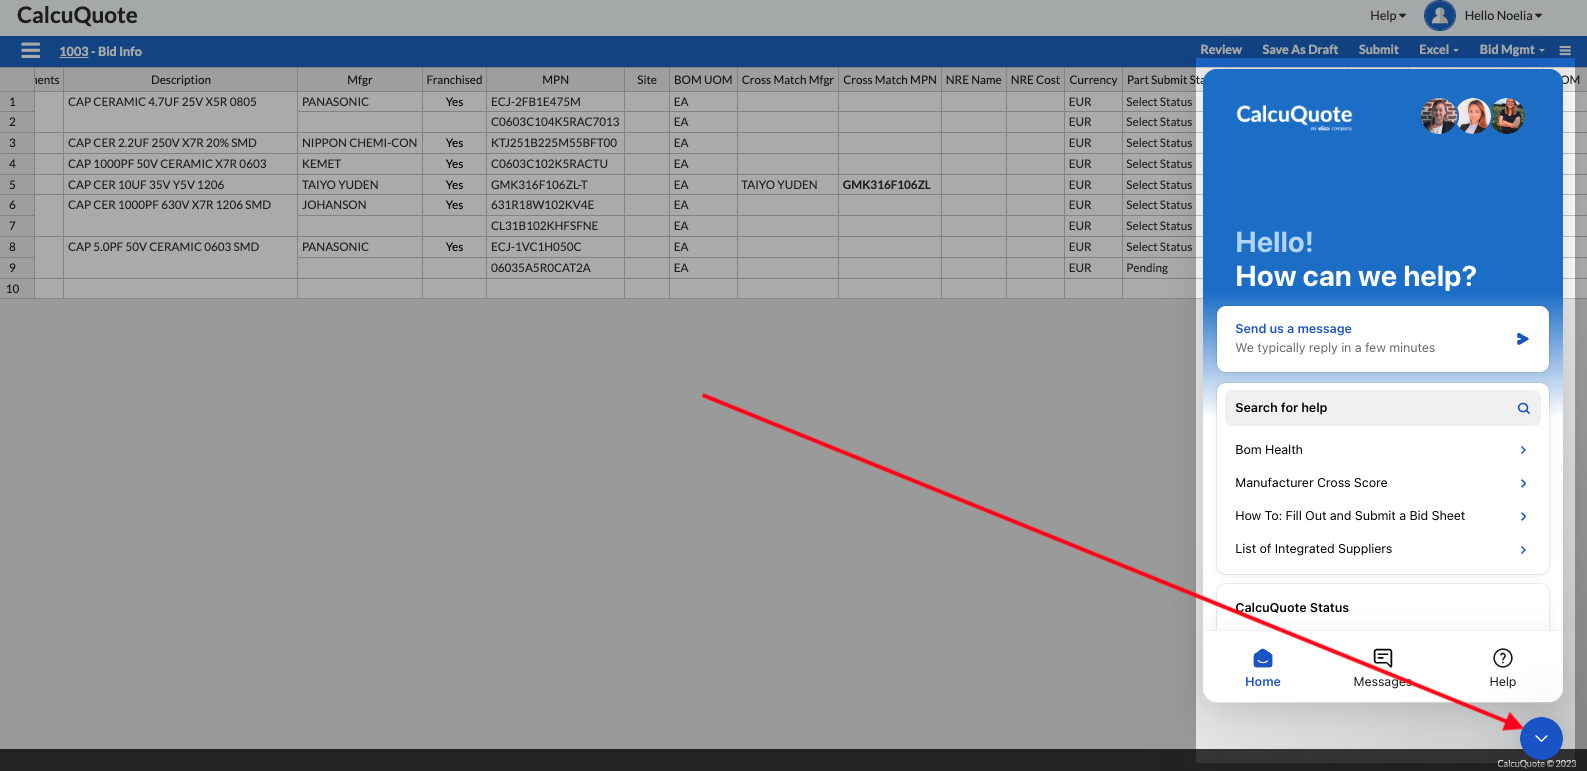
Reach out to our support team in a real-time chat by clicking the icon in the bottom right corner.


